Or should I say Simply Style! Because that is what line this awesome fabric comes from!
Vanessa of
V. and Co. asked me to do a bit of sewing for her again for her new fabric that debuted a few weeks ago at Spring Market.
I had made her an a-line skirt when her first collection Simply Color came out last year. So we reprised the same pattern in gray and navy ombre chevron.
This picture is more fun though (Thanks for sharing V!) Her new collection and patterns are too awesome. Love that quilt behind her. If you go to her
market recap there's a video of the Moda Schoolhouse and she talks a little about the quilt!
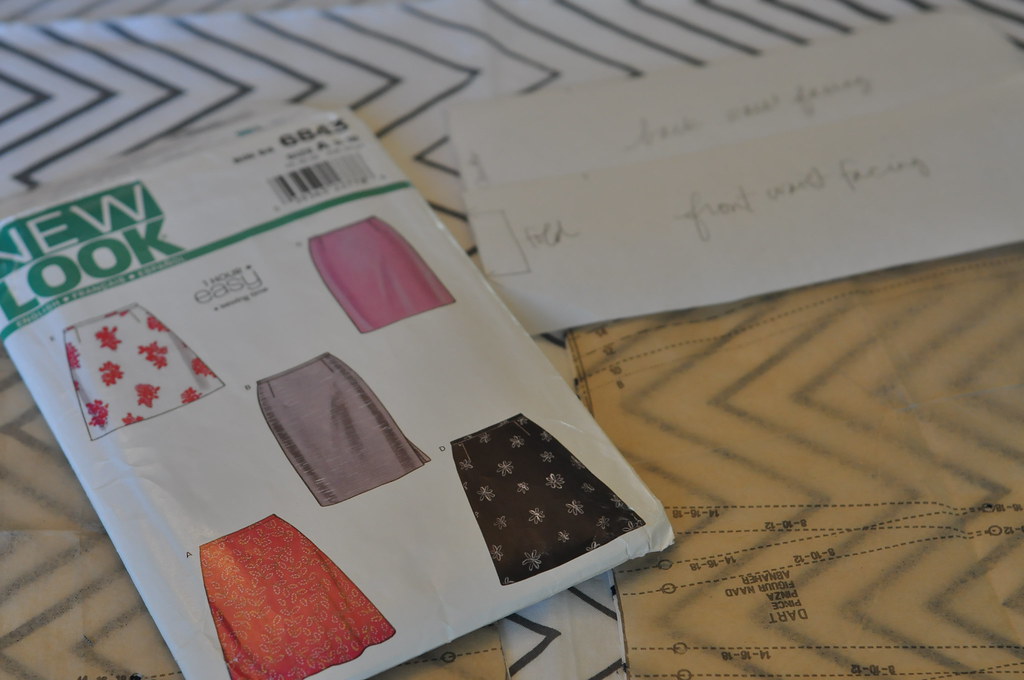
I used this new look pattern 6843, which is a basic a-line. Of course I had to make a little change. Instead of a sewn on waistband (which always makes me feel like I'm getting sliced through the middle) I made a facing so the skirt sits just below the waist without any bulk of an extra seam. I know there is a newer pattern out the with a facing but I can't remember where I saw it. This isn't the only a-line skirt out there.
A-line skirts are pretty simple. It's important to measure around the hips to select your size. And remember that pattern sizes have not been subject to size inflation. You will probably wear at least 3 sizes "larger" than you would buy in the store. And it's okay. Don't let it freak you out!
The chevron off the bolt is printed selvedge to selvedge, so it's important to know that you should NOT follow the cutting diagrams in the pattern. Otherwise your chevron stripes will run vertical. So you will need to refold your fabric.
(L-R)
Photo 1 This is how the fabric comes off the bolt.
Photo 2 Open your fabric up and lay in a single layer
Photo 3 Take your cut edge and fold it over so you have selvedges on both edges. This will make sense when you lay out your pattern pieces.
It's also important to note that if you are tall or want a skirt that is longer than 20" or so, you will need more fabric. Those of us on the petite side can use less because of the width of fabric and will be able to fit two pieces along one fold (as shown above - much longer though and you'll run out of room for both pieces).
For instance, I knew I wanted a finished length of 20" (adding a 1/2" for the hem and a 1/2" for a seam allowance for attaching the facing). So I measured along the fold (center of pattern front and back) 21". And I placed the hem of the pattern along the selvedge where I wouldn't lose too much of the design once hemmed. If you have made skirts before you know you can sometimes fudge the length and just cut it up or hem it more once put together, but I would suggest knowing going into it, so you don't lose any of the bottom for the ombre effect.
So there's one of the panels cut! This fabric is so pretty!!
Now the rest of these instructions are if you use this pattern or have to create a facing for the pattern you have. If you even want to do that! I won't be offended if you scroll down to the bottom to just look at the pictures!
To make a facing pattern, you pin the darts in and then trace the pattern piece from center to side seam and about 4 " long. I also used a light weight interfacing to stabilize the facing.
You can see in the above photo that the facing piece doesn't reach the side seams. Once you put the darts in, it will. (I know this isn't the best explanation and I probably should have taken more photos. I made this pattern last year when I made the first skirt...)
Be sure to cut the facings like the skirt: one long piece for the front cut on the fold, and two pieces for the back. Attach interfacing and the sew them up at the side seams.
So once you have your skirt put together, instead of putting on a waistband you can just pin this, right sides together and matching side seams to the top of the skirt and stitch around. I chose to finish the edges with the serger and then top stitch it down at the top so it wouldn't roll.
I had some fun using the ombre dots from Simply Color for the facing on the gray skirt. :)
Two other things I did on this skirt was put in an invisible zipper withOUT (!!) an invisible zipper foot using
this tutorial. AND I managed to match up the chevrons on the back side seam pretty darn well!! I had to pat myself on the back for that one. Just make sure you have your fabric folded matching the lines and you should be able to do that too!
Here are the lovely ladies joining their older sister from last year. Luckily I had Vanessa send me the first skirt so I would know what size to make it! I get super nervous sewing for people when they aren't here to try things on in person!
I really loved making these and think I might add a couple to my wardrobe next! Thanks Vanessa for helping me send a little piece of myself to market. Maybe one day I'll get there myself!